Overview
In Luminous, a channel is a named connection that links your Luminous account to an external platform (e.g. your Shopify store, a 3PL warehouse system, or an EDI trading partner). Channels control which orders flow in to Luminous, where fulfillment orders are sent out, and whether inventory stock counts are pushed back to the source platform.
Every channel has one of three types:
| Channel Type | What it does |
|---|---|
| Sales Channel | Pulls incoming sales orders from an external platform into Luminous and can push inventory stock / cost data back. |
| Fulfillment Channel | Receives fulfillment orders from Luminous and pushes them to a 3PL or warehouse system. |
| End-to-End Channel | Combines both — pulls orders in and pushes fulfillment orders out to the same integration account. |
Where to find Channels
- Navigate to Manage - Channels in the left-hand menu.
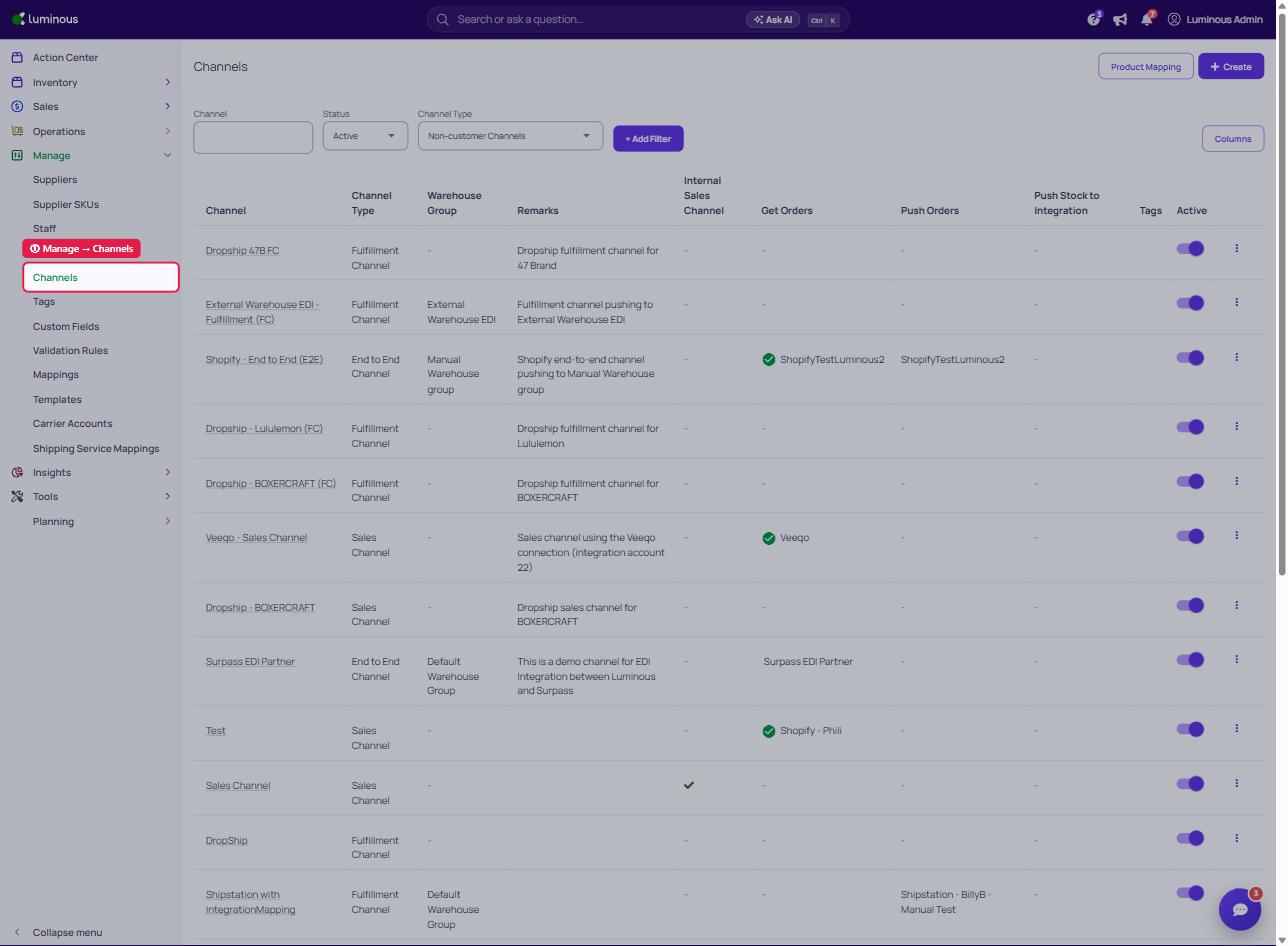
- You'll see a list of all configured channels.
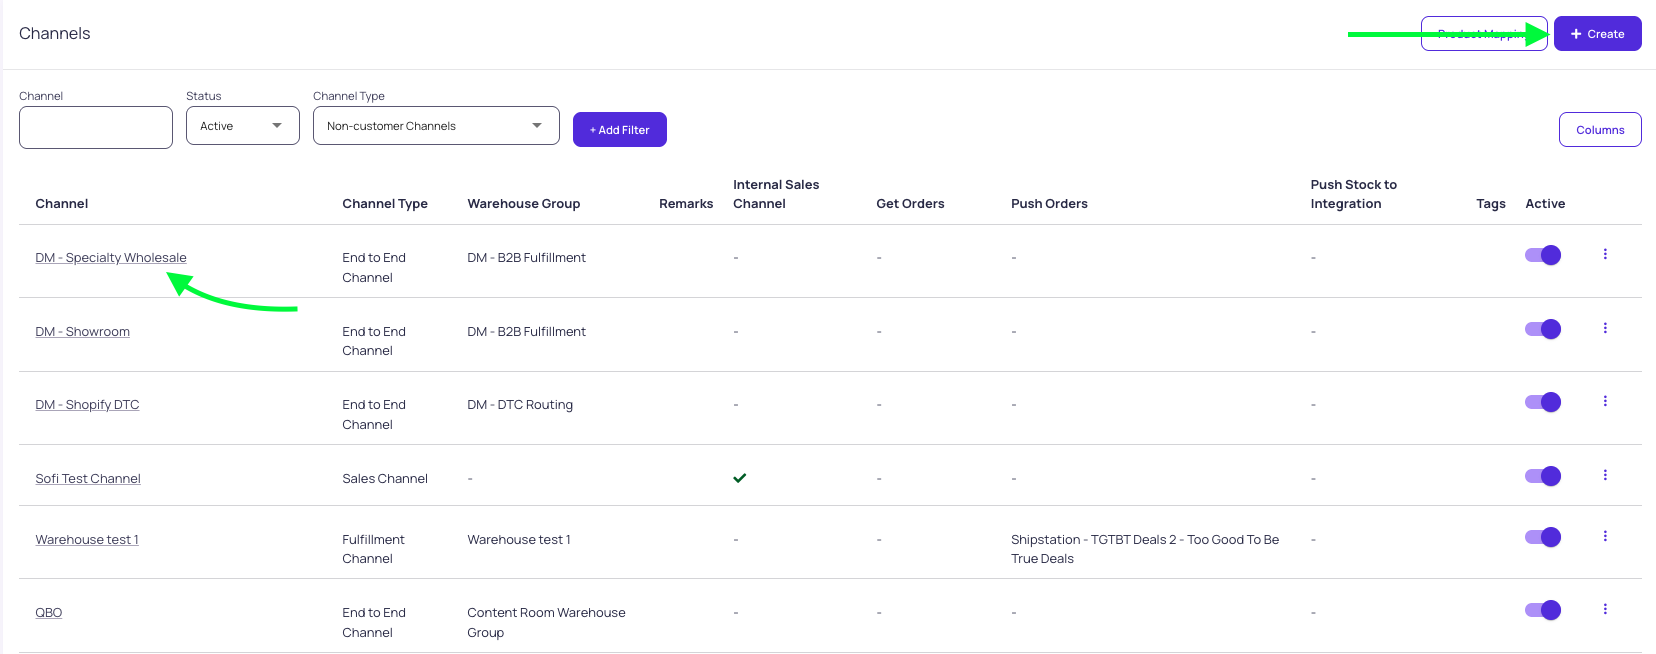
- Click any channel name to view its details, or click Create (top-right) to create one.
Creating a new channel
Step 1 — Basic details
- Go to Manage → Channels → Create.
- (Optional) Use Prepopulate from channel to copy settings from an existing channel as a starting template.
- Choose a Channel Type (Sales Channel, Fulfillment Channel, or End-to-End Channel).
- Enter a Channel Label — a friendly name you'll see throughout the app.
- Add optional Tags and a Description for your own reference.
- If this is a Fulfillment or End-to-End channel, select the Warehouse Group that will fulfill orders routed here.
Step 2 — Order Source (Sales & End-to-End channels only)
This section controls how orders arrive in Luminous:
- PULL Sales Orders — Toggle this on to automatically import orders from an external platform.
- Pull Orders From — Select the integration account (e.g. your Shopify app account) to pull from. If the integration supports multiple stores, you'll also choose an OMS Store.
- Order Currency — Set a non-base currency here if orders arrive in a foreign currency; Luminous will convert amounts for reporting.
- Automatically Push Fulfillment Updates to Order Source — When enabled, Luminous sends tracking and fulfillment status back to the source platform (e.g. marks an order as fulfilled in Shopify).
- Save contact to CRM from orders — Automatically creates or updates CRM contacts using the customer details on each incoming order. You can also set a client type and tags for auto-created companies.
- Put orders on hold if payment hasn't been fully captured (Shopify only) — Holds orders in Luminous until Shopify confirms full payment capture.
- Default CRM Company — Pin all orders from this channel to a single CRM company (useful for B2B / EDI accounts where every order belongs to one customer).
- Filter Incoming Orders — Add one or more property/operator/value rules. Only orders matching all active filters are attached to this channel.
Step 3 — Order Destination (Fulfillment & End-to-End channels only)
This section controls how fulfillment orders are sent out:
- Push Orders to Integration — Toggle on to send fulfillment orders to a 3PL or WMS.
- Push Orders To — Select the integration account.
- Mapping Type — Choose Basic Mapping (configure individual custom field mappings inline) or Advanced Mapping (select a saved Integration Mapping for complex transformations).
- Default Push Order Shipping Method — Pre-select a shipping method for orders pushed to this integration.
Step 4 — Auto Push Settings (Fulfillment & End-to-End channels)
Choose how Luminous automatically sends fulfillment orders to the destination:
- Disabled — Orders must be pushed manually.
- Immediate — Push automatically after a configurable delay (in minutes).
- Pick-n-Pack — Push when a picklist reaches selected statuses (Created, Picking, Picked, Packed, or Deleted).
- Wave — Use the wave engine to batch orders on a schedule (every 5, 15, 20, 30 minutes, hourly, or custom times), with a daily cap, processing priority, and optional progressive preorder rollout.
Step 5 — Push Inventory Stocks and Costs (Sales & End-to-End channels)
Control what Luminous pushes back to the source platform:
- Push Stock to Integration — Syncs Luminous available inventory to the platform.
- Options include counting incoming supplier PO stock as sellable, and a custom sellable quantity formula (choose which stock fields to include or deduct).
- Set a Push-To Integration Account and optionally a specific Inventory Location.
- Configure a Scheduled Push Stock cadence for automated periodic syncs.
- Push Costs to Integration — Independently push either Unit Cost or Landed Cost to the platform (without requiring a stock push).
Step 6 — Auto Fulfillment (Sales & End-to-End channels)
Per-channel overrides for how Luminous creates fulfillment orders:
- Always Create Fulfillment Orders Even When No Stock is Available — Override the global setting for this channel.
- Always Create Fulfillment Orders for Future Ship Dates — Override to allow FOs to be created for orders with a future estimated ship date.
- Combine Identical SKU Line Items — Merge duplicate SKU lines on a fulfillment order.
- Split auto-created fulfillment orders by — Optionally split FOs by Estimated Ship Date.
- Auto-Generation Trigger — Override the global FO auto-generation timing: Scheduled (daily at a set time), Immediate (with an optional minute delay), or Manual.
Step 7 — Fulfillment Restrictions (Fulfillment channels)
Add rules (e.g. ship-to country filters) to limit which orders can route to this channel. Leave empty to allow all orders.
Step 8 — Dropship / Special Order (Fulfillment channels)
Toggle on Use this channel for dropship or special order fulfillment to route orders to a supplier instead of your own warehouse:
- Select the Supplier (factory).
- Choose PO delivery type: ship to Customer or ship to Store.
- Optionally enable Inventory not tracked (for channels where stock deduction doesn't apply).
- Enable Auto-send PO email to supplier when the purchase order is created.
Additional channel settings
Is Internal Sales Channel
Mark a Sales Channel as a POS / internal channel. This is typically used for orders entered directly inside Luminous (walk-in sales, phone orders, etc.).
Is Customer Specific
Customer-specific channels map a single customer's external SKUs to your Luminous SKUs. These channels are hidden in the main channels list by default. Attach them to the customer record in your CRM.
Automatic Invoice Creation (requires feature enablement)
Sales channels can be configured to automatically create an invoice at a chosen moment:
- When the order is received
- When a fulfillment order is created
- When a shipment is created
- When the first shipment ships (full invoice amount)
You can also set an optional delay in minutes, invoice type, default revenue account, and QuickBooks auto-push timing.
Channel Fees
In the channel form you can add named fees (with an amount and type) that apply to all orders on this channel — useful for platform fees or handling charges.
Product Mapping
For Sales Channels, a Product Mapping tab appears on the channel detail view. Use it to map your external platform's SKUs to the corresponding Luminous SKUs, so incoming orders are matched correctly.
Supported integration types
The following platform integrations can be connected as an Order Source or Order Destination on a channel:
- Shopify
- WooCommerce
- Amazon
- API2Cart
- HubSpot
- eCartAPI
- TrackStar
- EDI (via webhook)
Setting up a Shopify integration account? You must first create a Custom App in Shopify and enter the credentials in Luminous under Integrations. See the Shopify Integration Setup article for the full step-by-step walkthrough.
Shopify Collective orders
Shopify Collective (where a retailer sells your products through their own Shopify storefront) is not a separately modeled channel type in Luminous. Collective orders appear in Luminous as standard Shopify orders pulled through your existing Shopify Sales Channel — cost and retail pricing are captured the same way as any other Shopify order. If you need to separate Collective orders from your regular DTC orders, use the Filter Incoming Orders feature on a dedicated channel, or contact Luminous support to discuss your specific setup.