Overview
To achieve more accurate landed cost allocation—especially for duties and taxes—users can now distribute extra costs based on both product categories and product tags.
Why This Matters
Previously, landed costs could only be allocated by product category, which posed challenges when variants had different duty rates. Now, with the addition of tag-based allocation, users can target specific products (e.g., tagged by HS code) to ensure costs like duties and taxes are applied correctly during receipt.
How It Works
Step-by-Step Instructions
-
Navigate to the Extra Costs section when receiving a purchase order.
-
Click Add Item(s) to add the type of extra cost and add the allocation configuration for a specific extra cost (e.g., Duty, Tax).
-
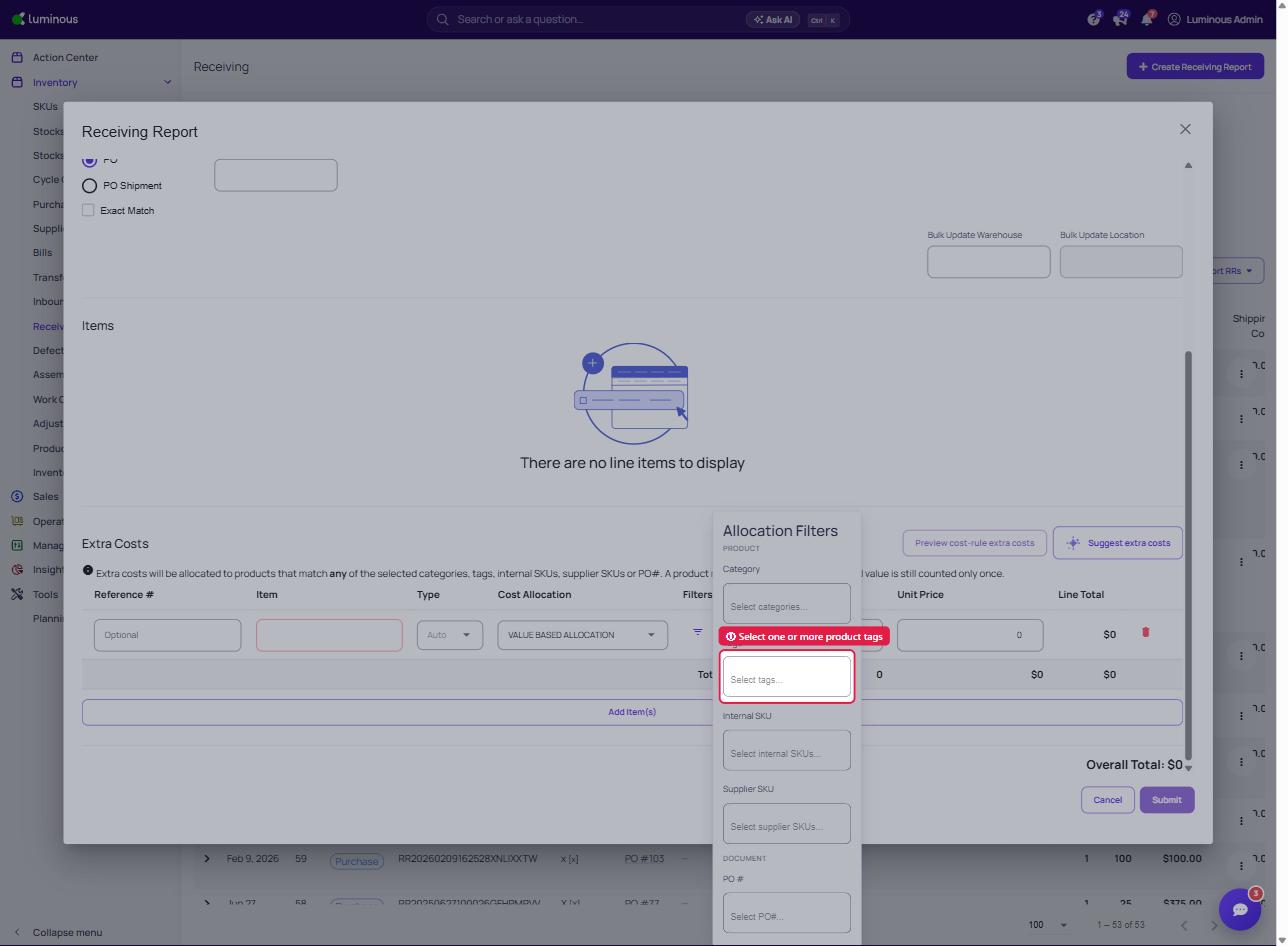
Click the Filters icon on the extra cost line and use the Allocation Filters as needed (Category and Tags, plus optional Internal SKU, Supplier SKU and PO # filters).
Ensure that products have Product Category or Product tag set to be able to successfully distribute extra cost. Please refer to this article if you need help - How to Manage tags and Categories /articles/how-to-manage-tags-and-categories
- Product Categories: Select one or more product categories.
- Product Tags (New): Select one or more product tags.
-
Save the allocation. Products matching either a selected category or tag will be included in the distribution, with no duplicates.
-
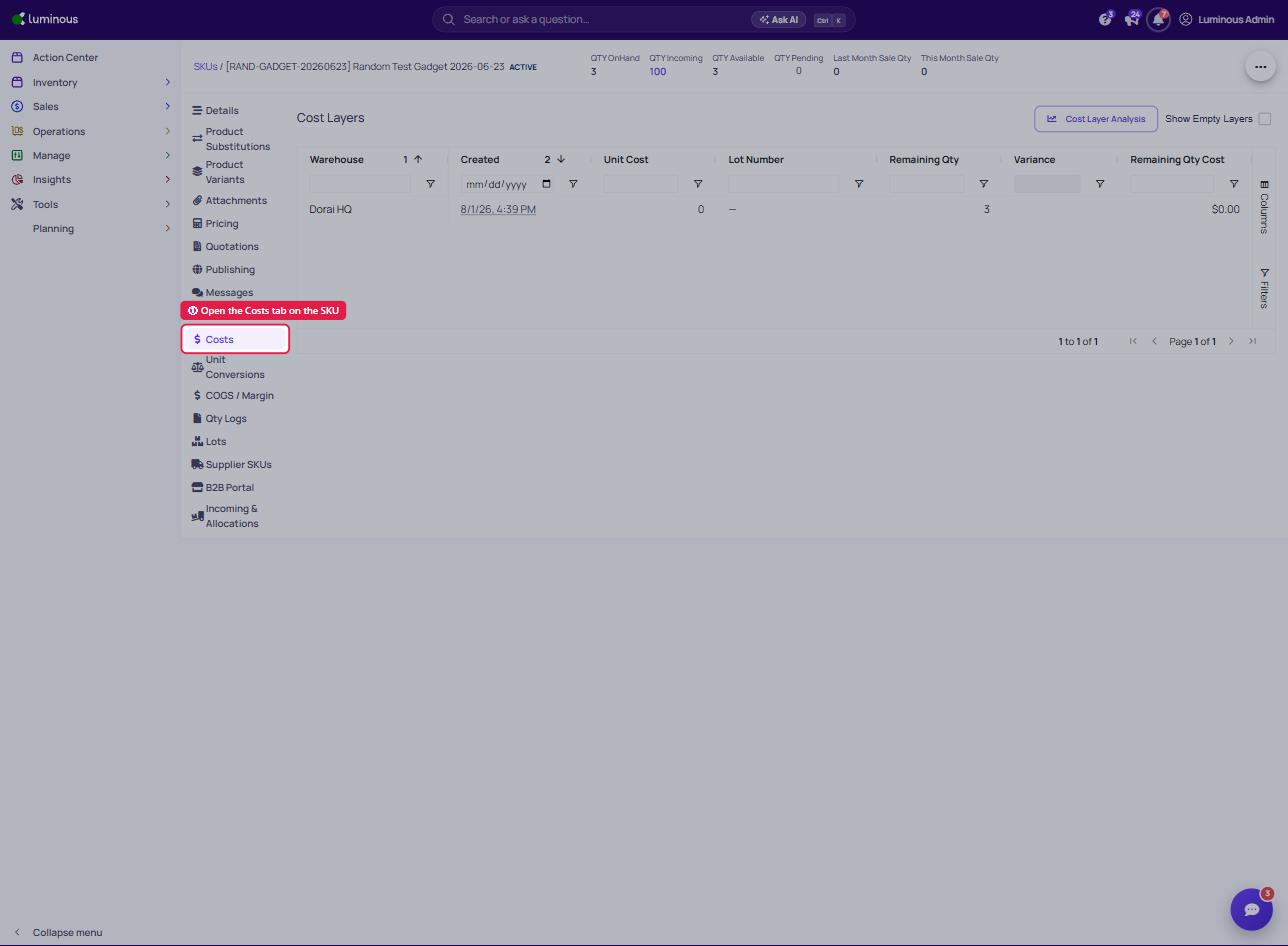
To validate if the cost added through product tagging took effect, go to:
-
Inventory > SKUs > open the SKU > Costs tab
-
Check if the amount added is reflecting to the listed costs.
-