Step 1: Access the Inventory Update Tool
-
Navigate to Tools:
- In the left-hand menu, click Tools > Imports.
-
Select "Inventory Quantities" under the Inventory Operations header
-
To get the import template, click here:
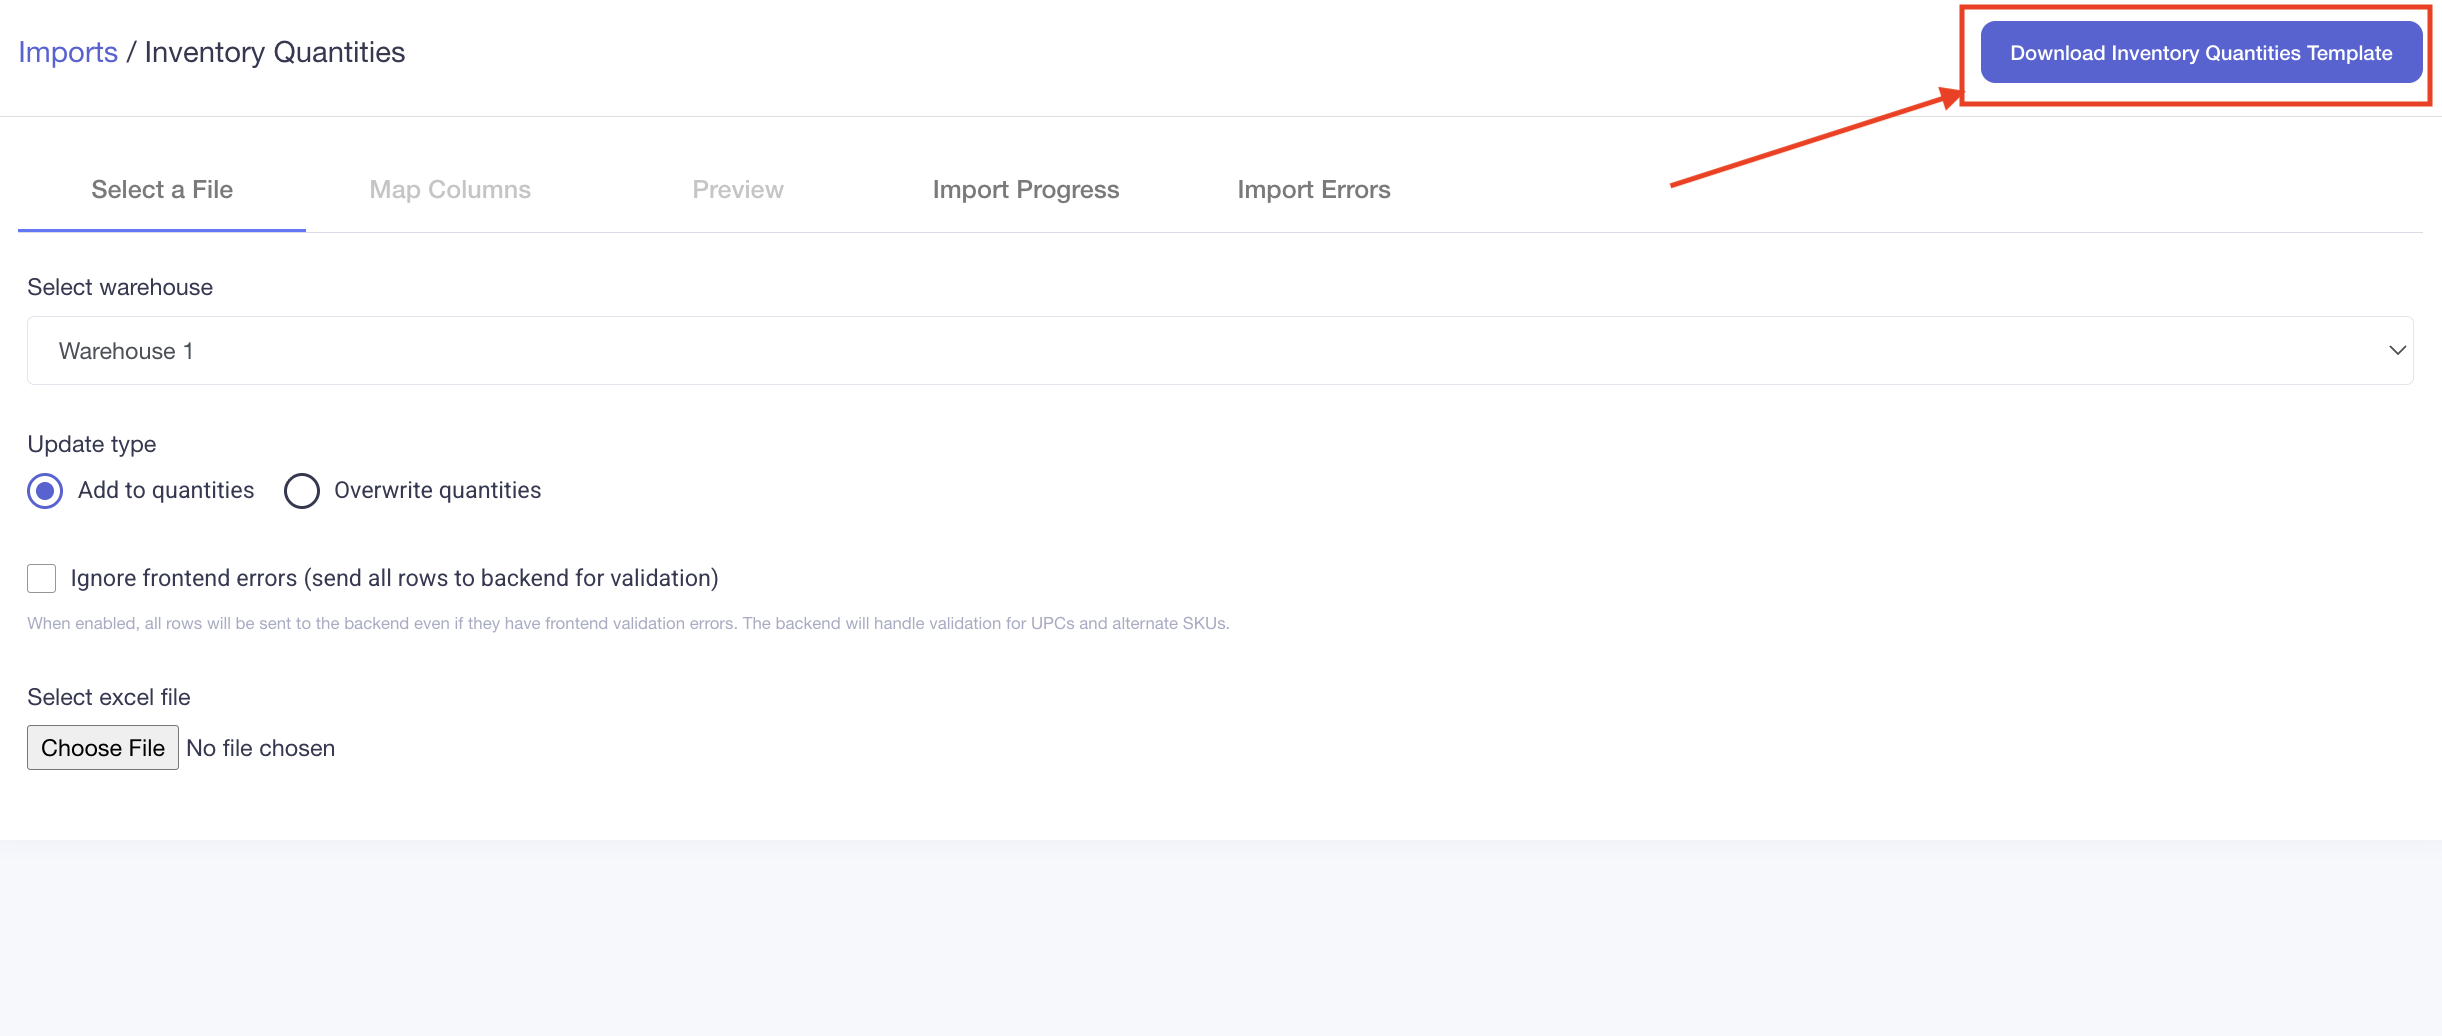
-
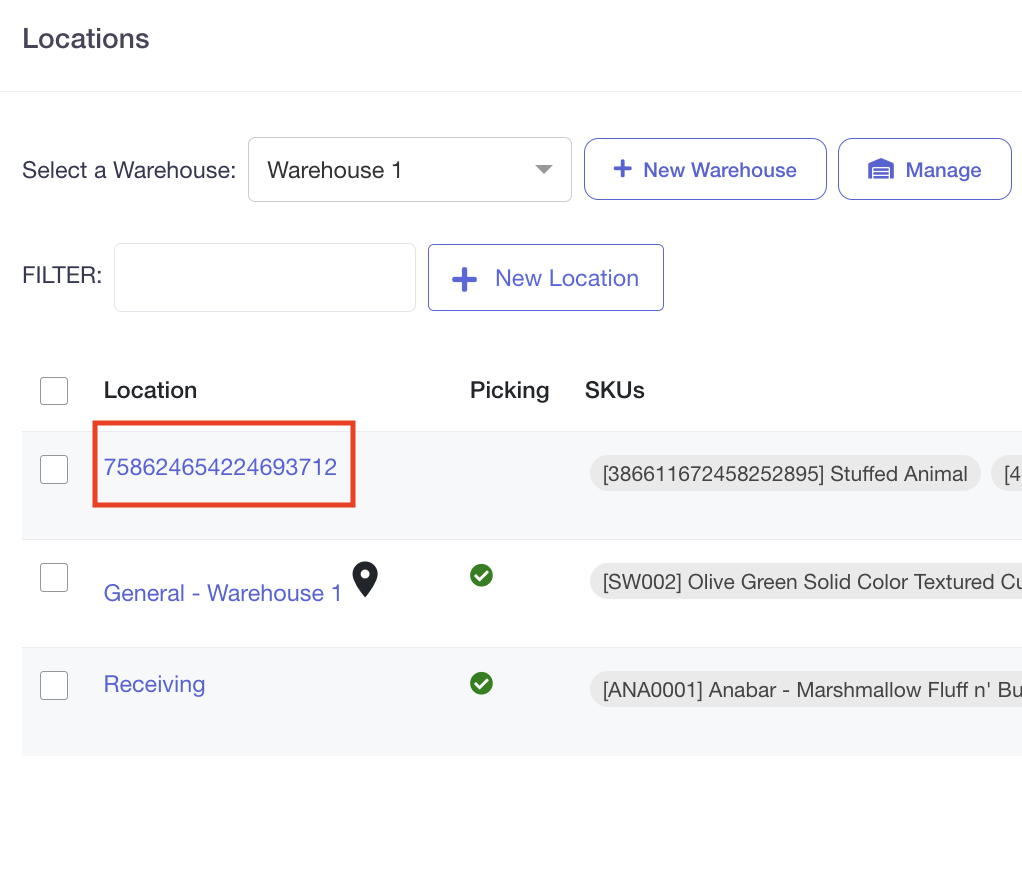
Save the Excel document to your device. IMPORTANT: Verify that it includes the Location name of the warehouse location exactly as it appears in Luminous. This can be found under Manage -> Locations -> select the warehouse from the drop down menu and see what the location is called here:
Step 2: Configure/Create the Import Document (Excel xlsx doc preferred)
- Select the Warehouse:
- Choose the warehouse where you want to update inventory quantities.
- Example: Warehouse Main.
- Choose the Update Type:
- Add to quantities: Adjusts inventory by adding the specified quantities to the current totals.
- Overwrite quantities: Replaces the current inventory quantities with the new values.
- Recommendation: Use Overwrite Quantities for initial imports or inventory counts.
Step 3: Prepare Your Data
- Export Existing Quantities (Optional):
- If inventory data is already in the system, click the Export button in the top-right corner to download a template of current inventory levels.
- Use a Custom File (Optional):
- You can use an existing file with your inventory data.
- Ensure it includes the required fields for mapping.
Step 4: Fill Out Required Fields
To successfully update inventory quantities, ensure your file contains the following fields:
- SKU: The unique identifier for the product.
- Quantity on Hand: The updated inventory quantity.
- Location: (Required if you track inventory by bins) Specify the location where the inventory will be stored.
- Lot Tracking (If applicable):
- Include additional fields such as:
- Lot Number
- Production Date
- Expiration Date
- Include additional fields such as:
Step 5: Import the Data
- Choose a File:
- Upload your file by clicking Choose File and selecting the inventory data file from your computer.
- Map the Columns:
- Match the columns in your file to the required fields in Luminous.
- Ensure all required fields, such as SKU, Quantity on Hand, and Location, are properly mapped.
- Start the Import:
- Click Submit to begin the bulk update.
By following these steps, you can efficiently update inventory quantities in bulk, ensuring accurate tracking and management of your inventory in Luminous.